How to Choose the Right Outdoor Sauna for Your Home Upgrade
Outline:
– Choosing between traditional, infrared, barrel, and cabin designs
– Materials and weatherproofing for long-lasting performance
– Sizing, siting, and installation planning
– Budgeting, energy use, and ongoing costs
– Safety, upkeep, and a step-by-step decision guide
Introduction: Why Outdoor Saunas Matter for a Home Upgrade
An outdoor sauna is one of those upgrades that changes not just a space, but a routine. It reframes chilly evenings and overbooked days into a small ritual of warmth and quiet. For homeowners, the appeal is twofold: a private wellness nook a few steps from the back door, and a project that can meaningfully enrich outdoor living. Whether you’re considering a compact barrel on a gravel pad or a fully insulated cabin tucked beside a deck, the choices you make now will determine durability, comfort, energy use, and overall satisfaction years down the line.
Heat bathing has a long history across cultures, and modern interpretations can fit a range of climates and yard sizes. Traditional heated rooms typically run in the 160–195°F (71–90°C) range with relatively low humidity, while infrared units deliver heat at lower air temperatures, often 120–150°F (49–66°C), focusing more on radiant warmth. Neither approach is inherently superior; they feel different, heat up differently, and are maintained differently. What matters is aligning the build with your preferences, the seasons you’ll use it, and your local codes and utilities.
From a value perspective, an outdoor sauna can be among the top options for stretching the utility of your yard across more months. In cooler regions, it adds a reason to be outside when you’d otherwise retreat indoors. In milder climates, it pairs well with a plunge tub or an outdoor shower for contrast therapy. It also invites mindful moments that are easy to schedule: twenty minutes of heat, a rinse, and a calm transition back into the evening. With smart planning, you can achieve reliable performance without runaway operating costs or constant upkeep.
In the sections that follow, we’ll look at design types and heat sources, materials and weatherproofing, site planning and installation, and the real costs of ownership. You’ll find practical tips, rule-of-thumb sizing, and safety considerations backed by common building practices. Along the way, expect a few checklists to keep decisions organized. Think of this as your road map from “maybe someday” to wood-scented reality.
Comparing Outdoor Sauna Types and Heat Sources
Start by choosing the overall form and heat style, because those two decisions shape how the sauna feels, how quickly it warms up, and what it takes to maintain. The most common outdoor forms are barrel, cabin, and pod-shaped designs. Barrel shells heat efficiently because curved ceilings promote natural convection, though headroom at the edges is limited. Cabin-style rooms resemble small sheds, with straight walls that make it easier to insulate, add windows, and customize seating. Pod or teardrop shapes split the difference—visually striking, with better internal volume than many barrels, but still relatively compact.
For heat, the main options are traditional (electric or wood-fired), gas-fired (less common in residential settings), and infrared. Each has a distinct profile:
– Electric traditional: Predictable, timer-friendly, and relatively straightforward to install with a dedicated 240V circuit. Typical four-person rooms use 6–9 kW heaters, warming in roughly 30–45 minutes depending on insulation and ambient temperature.
– Wood-fired traditional: Romantic the moment you open the door—the gentle crackle, the aroma of seasoned wood. It warms quickly once the fire is established, and water can be ladled over stones for a controlled burst of steam. It requires a proper chimney, clearances, and adherence to local rules for solid-fuel appliances.
– Infrared: Lower air temperatures but direct radiant warmth to the body, often heating in 10–20 minutes. Efficient per session and simple to power, but true outdoor use usually requires a weatherproof enclosure to protect panels and wiring.
Traditional heated rooms are flexible with humidity—pouring a small dipper of water over stones briefly lifts relative humidity, creating a softer sensation at the same air temperature. Infrared rooms are typically “dry” because introducing steam can interfere with electronics. For people who value löyly—the enveloping wave of steam—traditional setups are often preferred. Those prioritizing faster startup and lower air temperatures often lean infrared.
Materials also influence feel and longevity. Interior benches and cladding are commonly cedar, thermally modified wood, or other species that tolerate heat and moisture without oozing resin. Exterior shells must handle rain, sun, and seasonal shifts. Barrel kits often use thick staves that swell to seal; cabin builds invite layered wall assemblies with vapor control and insulation. No single format is universally superior; instead, weigh how each aligns with your ritual: slow, wood-fired evenings; quick, weekday sessions; or social weekends with friends.
Materials, Weatherproofing, and Design Details That Matter
The right materials let a sauna age gracefully. Inside, knotty softwoods with low-density fibers stay comfortable to the touch at high temperatures. Slats for benches and backrests should be smooth, splinter-free, and mounted with hidden fasteners or stainless screws to avoid rust marks. Many builders prefer thermally modified wood for exterior cladding because heat treatment reduces moisture movement and helps resist decay. Untreated softwoods can work too, provided you plan for stains or oils and accept a patina over time.
Weatherproofing starts with the envelope. Cabin-style builds benefit from proper layer design: exterior cladding; rainscreen air gap; sheathing; vapor-open, water-resistant barrier; cavity insulation like mineral wool; interior foil sauna vapor retarder; and an interior cladding layer. The foil layer reflects radiant heat back into the room and helps maintain stable conditions. Roof details deserve close attention—ice and water shield at eaves in snowy regions, robust flashing around chimneys, and adequate overhangs to reduce splash-back on walls.
Doors and windows affect both aesthetics and performance. A tempered glass door brings light and a modern look; a well-insulated wood door keeps heat exceptionally well. Dual-pane, tempered windows are useful where views matter, though more glazing means more surface area to lose heat. Choose hardware that tolerates heat and moisture; avoid ferrous metals that may corrode. For floors, consider non-slip tile, dense wood duckboards, or treated decking that drains toward a gravel bed. Drainage is essential—standing water breeds mildew and wears finishes quickly.
Small design choices have outsized effects:
– Bench heights: A two-tier layout with an upper bench near head height lets bathers choose a milder or hotter zone.
– Ventilation: Provide a low inlet and a high outlet to ensure fresh air exchange without drafts across bathers’ shoulders.
– Lighting: Low, shielded fixtures rated for high temperatures create calm without glare; warm color temperatures complement wood tones.
– Accessories: A bucket and ladle for traditional steam bursts, a wall thermometer and hydrometer, and a simple sand timer keep sessions repeatable and safe.
Finally, exterior finishes should match your climate. In wet zones, penetrating oils or breathable stains help wood shed water while allowing vapor to escape. In high-UV regions, finishes with UV inhibitors slow graying. Accept that a few checks and hairline cracks are natural in real wood—honest signs of a structure that lives outdoors, seasons to seasons.
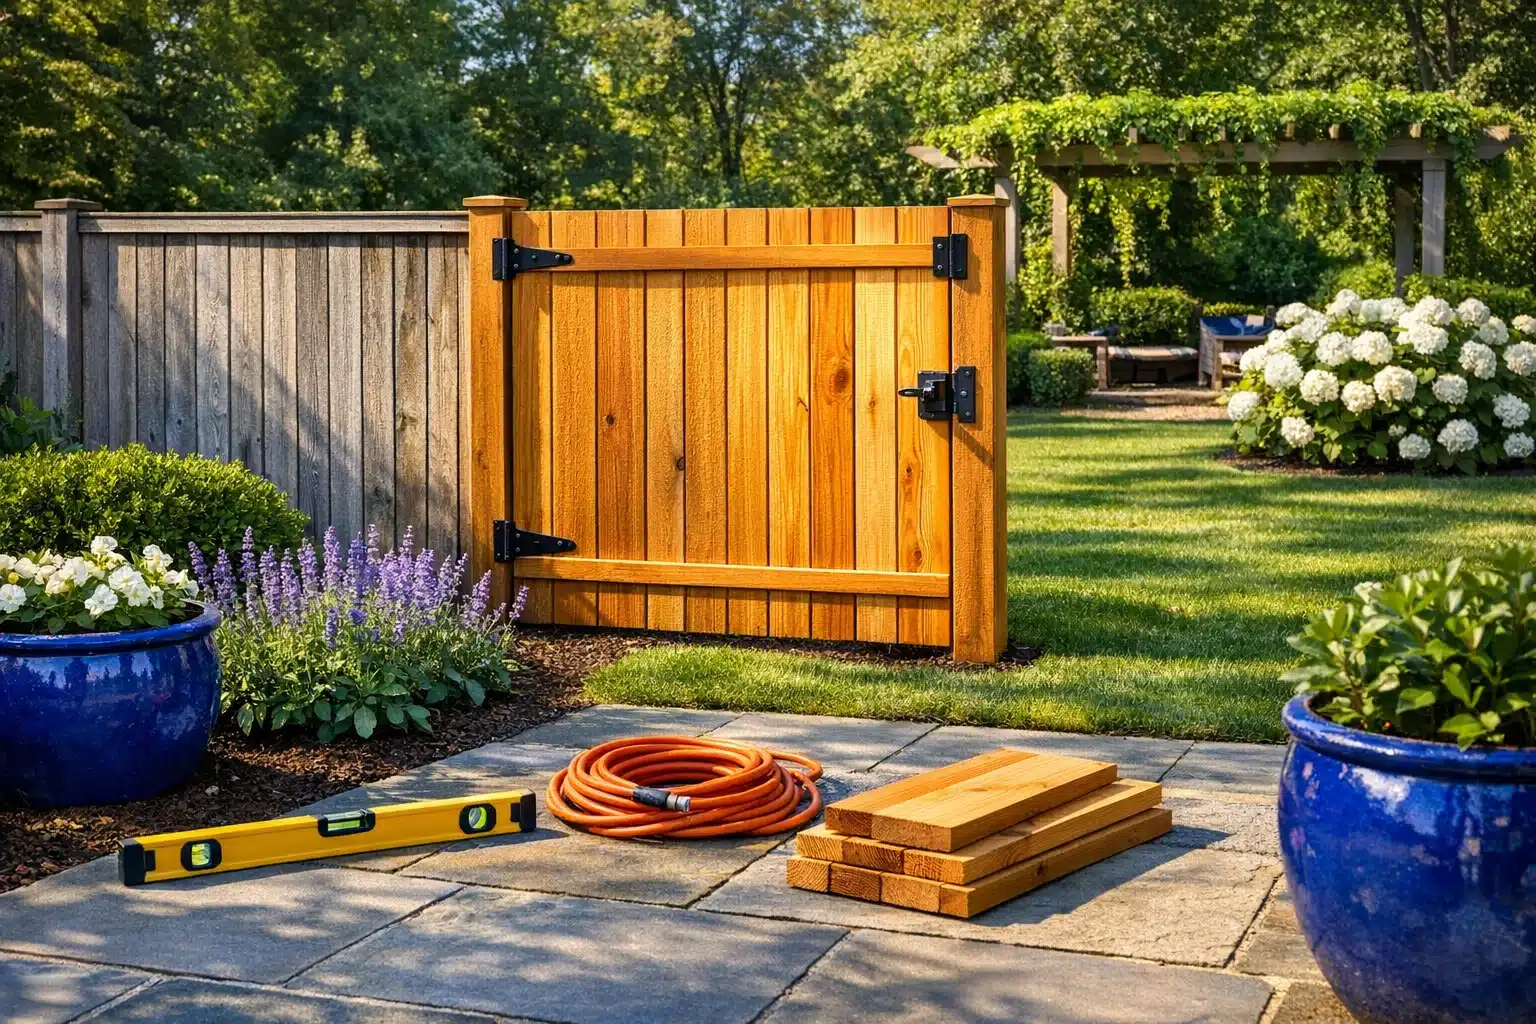
Sizing, Placement, and Installation Logistics
Before you price heaters or compare cladding, settle on size, siting, and the path from the house. Capacity is more than a headcount; it dictates heat-up time, operating cost, and how enjoyable the benches feel. A comfortable two-person room often starts around 4×6 ft (1.2×1.8 m). Four-person social layouts might run 6×8 ft (1.8×2.4 m) or larger, especially if you want a small changing alcove. Height matters too: around 7 ft (2.1 m) creates enough space above the upper bench for a proper heat layer without wasting energy in a towering void.
Placement blends practicality and ambiance. A short, well-lit path encourages year-round use, especially in snow or rain. Think about sightlines from neighbors, prevailing winds, and proximity to a hose bib or outdoor shower. Avoid low spots where water pools; a compacted gravel pad or concrete slab with slight pitch works well. Leave clearances recommended for your heater type, and ensure you can access the back and sides for maintenance.
Permits and utilities deserve early attention. Adding a 240V circuit typically requires an electrical permit and a licensed electrician. Wood-fired installations need proper chimney support, spark arrestors, and clearance from combustibles. In wildfire-prone regions, consult local defensible space rules before placing a wood-fired unit near vegetation. Gas-fired heaters are less common for residential saunas but, where used, must follow gas codes and venting requirements.
Installation pathways can sneak up on you. Can the pre-built cabin or kit staves make the turn through your gate? Is there room to stage materials without tearing up the lawn? Plan for an equipment panel location and GFCI protection where required. For infrared systems, ensure the enclosure is weatherworthy and that panel wiring remains dry and protected.
A quick pre-build checklist can reduce surprises:
– Confirm foundation type: compacted gravel, concrete slab, or deck frame rated for the load.
– Verify clearances around heaters and chimneys per manufacturer guidelines and local code.
– Map an electrical route with appropriate wire gauge and breaker size.
– Plan drainage away from the threshold and ensure snow loads are accounted for on the roof.
– Establish a storage spot for firewood if you choose wood-fired heat.
When these details are handled up front, the rest of the build often feels like a calm, methodical assembly rather than a scramble.
Costs, Energy Use, Safety, Maintenance, and Your Final Decision
Budgeting is not just about the sticker price; it’s about total cost of ownership across seasons. Entry-level outdoor kits can start in the low thousands, while larger insulated cabins with premium materials can climb into the mid five figures depending on custom work, glazing, and site prep. Electrical runs, concrete, and professional labor may add significantly, especially if the panel upgrade is required. A simple gravel pad and a short electrical run can keep costs contained; ornate cladding, glass walls, and remote siting add complexity and expense.
Operating costs hinge on heater size, insulation, and session length. A 6 kW electric heater drawing for 45 minutes of heat-up and a 30-minute session uses roughly 4.5 kWh. At $0.18/kWh, that’s about $0.81 per use, plus a bit more in winter when heat loss is higher. Wood-fired sessions trade electricity for cordwood; actual cost depends on local prices and whether you split your own. Infrared setups often run at lower wattage and shorter warm-ups, appealing for quick weekday use. Insulation and tight doors reduce energy loss in any configuration.
Safety is a mindset, not an afterthought. Use rated wiring and breakers, secure heaters to avoid tipping, and install guards where contact is possible. Provide a cool-down area and hydration nearby. Avoid alcohol during heat sessions and consult a healthcare professional if you have cardiovascular concerns; research on sauna bathing shows promising associations with well-being, but it is not a substitute for medical care. Keep a simple first-aid kit in the house and a non-slip surface at the threshold.
Maintenance is predictable and manageable when it’s routine:
– Wipe benches after sessions and prop the door open for a short period to dry the interior.
– Replace heater stones as they crack and settle; rearrange periodically to keep airflow even.
– Lightly sand benches yearly and refresh protective oils on exterior cladding as needed.
– Sweep debris away from the base and keep gutters or roof edges clear to prevent splash-back and rot.
As you finalize your decision, weigh the variables with a simple rubric:
– Ritual: Slow wood-fired evenings, quick infrared weekdays, or social weekends dictate the heat style and size.
– Climate: Cold, snowy winters favor insulated cabins; mild climates do fine with simpler shells.
– Access: Short, safe paths and nearby utilities increase how often you’ll use the sauna.
– Budget: Consider not only purchase price, but installation and operating costs over the first three years.
– Aesthetics: Choose materials that complement your landscape and accept the honest patina of outdoor life.
Conclusion and next steps: If your goal is a calm, repeatable routine, pick a size you will use on weeknights, not just for occasional gatherings. If you crave steam and ceremony, a traditional heater with a bucket and ladle will feel authentic and flexible. If efficiency and quick starts are priorities, an infrared setup may fit with an enclosure rated for outdoor conditions. With a clear plan, you can create an outdoor sauna that’s outstanding in comfort, well-regarded for reliability, and suited to your home’s character for years to come.